

Although UXprobe’s offices are located in the nice tower of Startit @ KBC, right in the city center of Antwerp, we love to get out of the building (GOOB) and learn from our customers. During these face-to-face talks we already have been asked a couple of times whether or not it is possible to use UXprobe when performing a usability test with an Axure prototype. Especially without having to bother a developer to make it work. Our short answer to this question proudly is: “Yes, you can!”.
Let me walk you through the simple steps to integrate UXprobe within your prototype. If you don’t have Axure yet, you can grab a free trial from their website and follow along.
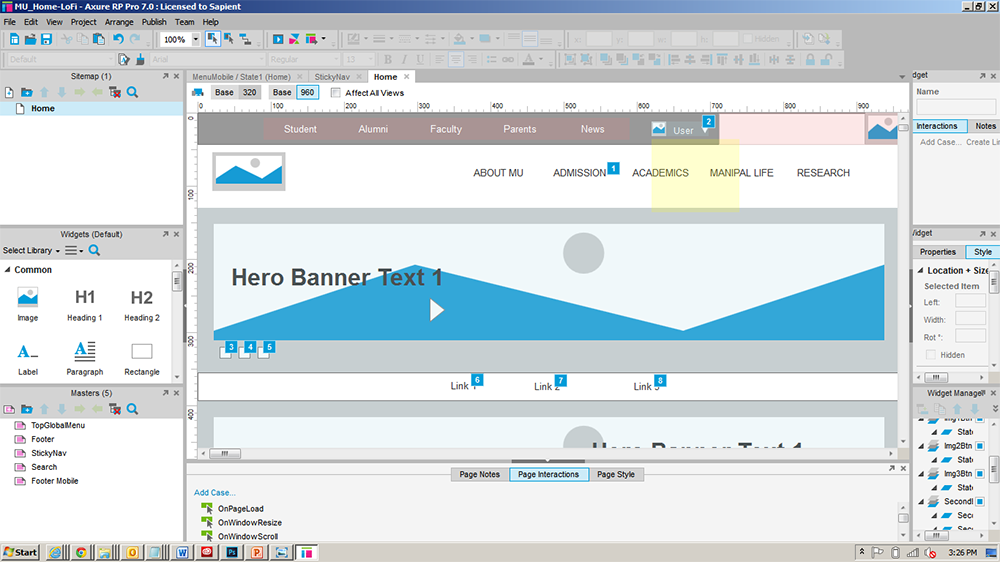
Axure User Interface
1. Add UXprobe’s JavaScript code to your prototype
There’s a trick to it but – don’t worry! – you do not need to be an ace in programming to make this work! You will have to use the Open link in current window action. Before starting, you have to check one thing: make sure that a new “UXprobe” session is created when the prototype opens in the browser.
This is how you do it:
- Create a master called “UXprobe”
- Add case to OnPageLoad and call it e.g. “Start UXprobe Session”
- Add an Open link in current window action; in the URL enter UXprobe’s JavaScript code with your specific account parameters to start the session: JavaScript:uxpLogStartSession(“ACCOUNT_ID”, “PROJECT”, “VERSION”);void(0);
- Place this master on each page of your prototype
Now each time you publish your prototype in AxShare, a new session should be created!
2. Track tasks, features, errors
To perform a usability test, you will want to track tasks, features and errors. Here again, this is very easy to set up:
- Create a widget, e.g. a button called “Hello World!”
- Select the OnClick event of that button
- Add an Open link in current window action
- In the URL enter the UXprobe JavaScript code to log every time this button is being clicked: JavaScript:uxpLogFeature(“Hello World”);void(0);
Now let’s be honest you don’t have to be a programmer to pull this off, right? Nevertheless there are a few small things you need to keep in mind when adding JavaScript to your prototypes:
- The last statement must be “void” otherwise it will not work with Internet Explorer
- Do not use single line comments “//”
- Make sure that you only have 1 Open link in current window action, because multiple ones would cancel each other out.
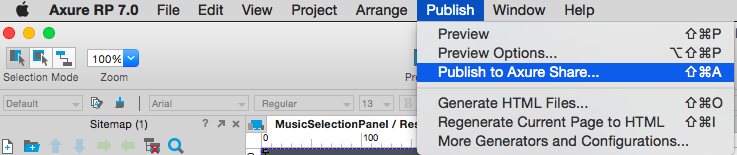
3. Publish your prototype in AxShare
Now you have to make sure that the UXprobe JavaScript client and its dependencies are added to the pages of your prototype. To do so you need to publish your prototype to Axure Share (a.k.a. AxShare), Axure’s free hosting service that allows you to turn your prototype into a live website.
4. Add UXprobe’s plugin
Once your prototype is published, log into AxShare, browse to your prototype, go to the Plugins-tab and hit the New Plugin button. Plugins is a nice feature that can be used to insert HTML and JavaScript into the Head, Body or Dynamic Panel of a page.
On the plugin page you need to add the details to make your prototype work with UXprobe. Name your plugin “UXprobe” and leave priority to 1 for now. As for the location, the code must be added to the End of the Body. Finally copy-and-paste UXprobe’s JavaScript code into the Content text area.

And now, thanks to UXprobe, you can easily test and improve your prototype!
•••
Want to try this yourself but you don’t have an Axure prototype available? Just download our Axure prototype of our famous Scratchy app.
ABOUT THE AUTHOR

Jan Moons
Co-Founder